Can Bedrock Plumbing handle toilet installations for older or unconventional plumbing systems? Yes, our expert team at Bedrock Plumbing & Drain Cleaning Twin Cities Experts specializes in professional toilet installations tailored to challenging setups like aging pipes and non-standard configurations across the Twin Cities area.
Introduction: Tackling Toilet Installations in Older Homes
Installing a toilet in an older home or one with unconventional plumbing systems presents unique challenges that demand skilled professionals. Many homeowners in neighborhoods like Edina, Bloomington, and near Minnehaha Creek or the Chain of Lakes face these issues daily. Outdated galvanized pipes, irregular flange placements, or sewer lines from the mid-20th century can turn a simple upgrade into a nightmare. At Bedrock Plumbing & Drain Cleaning, a family-owned business proudly serving all seven counties of the Twin Cities, we bring decades of hands-on experience to ensure seamless installations[1][6].
Our licensed technicians have successfully completed countless projects in historic districts around Lake Calhoun and along major intersections like I-94 and Hwy 100. Whether you’re renovating a bathroom near the Mall of America or adding a fixture in a basement by Fort Snelling, we adapt to your specific plumbing quirks. This blog dives deep into our capabilities, drawing directly from our proven services, to demonstrate why we’re the trusted choice for complex toilet installations[1][2].
Understanding Older and Unconventional Plumbing Systems
Older plumbing systems, common in Twin Cities homes built before the 1980s, often feature galvanized steel pipes prone to corrosion and reduced water flow. Unconventional setups might include offset drains, cast iron sewer lines, or flanges not aligned with modern standards. These require precise adaptations during toilet installation to prevent leaks, clogs, or structural damage[1].
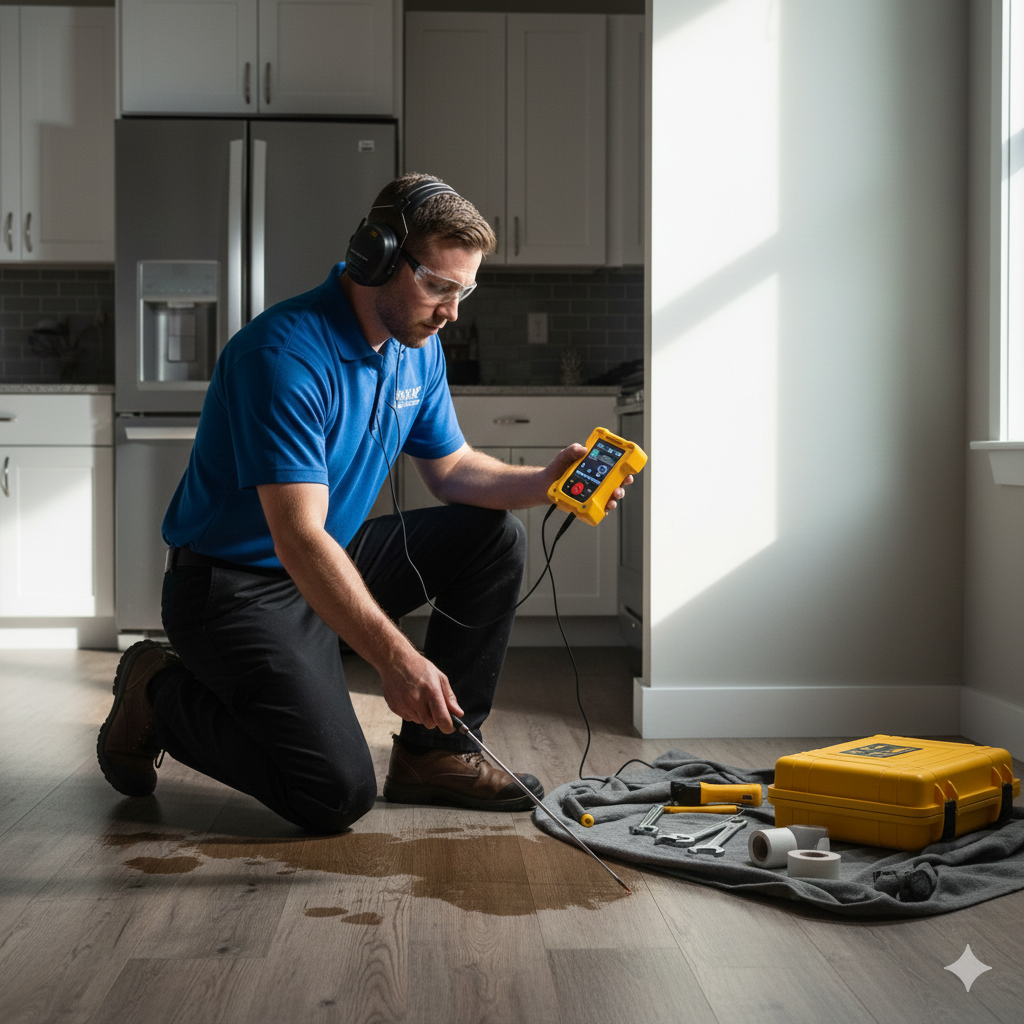
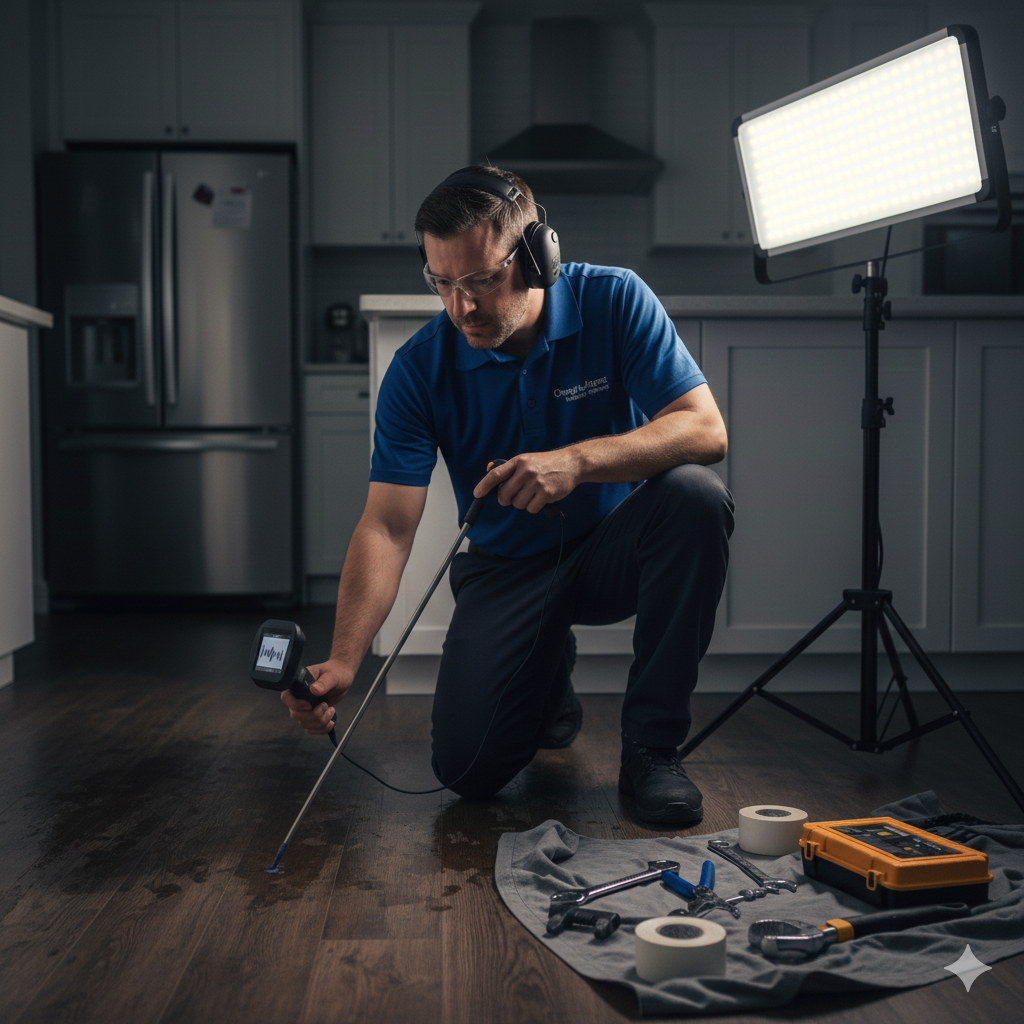
For instance, in areas like St. Paul near the Mississippi River bluffs, homes from the 1920s frequently have sewer lines that gurgle or bubble due to blockages, signaling main line issues that impact toilet performance. Our team diagnoses these using advanced inspection techniques, ensuring installations integrate flawlessly[1][2]. We’ve handled everything from worn-out wax seals in Richfield bungalows to malfunctioning refill valves in unconventional basement setups near the University of Minnesota campus.
Our Expertise in Toilet Installations for Challenging Systems
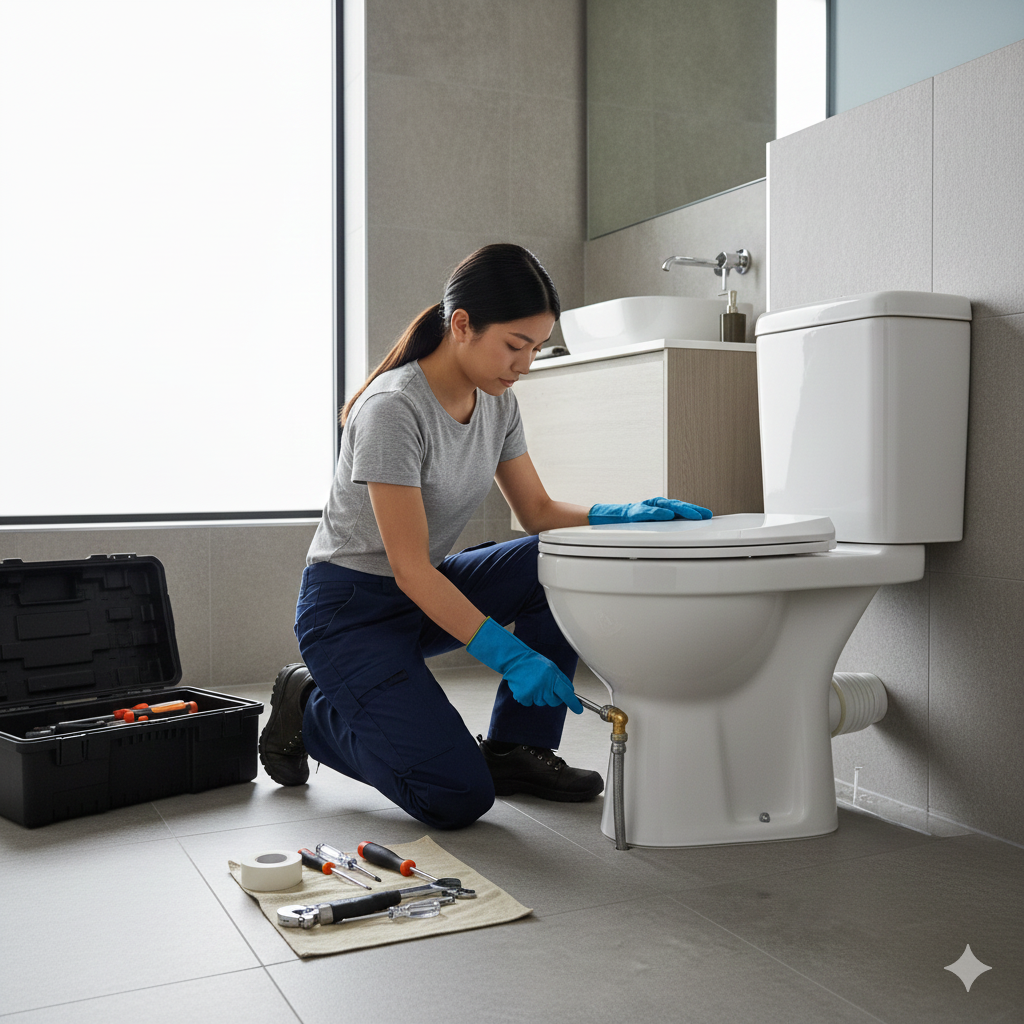
Bedrock Plumbing offers top-notch toilet installation services for both residential and commercial customers, with a professional team trained to work efficiently on older systems. Our family-run operation cherishes customers, providing reliable service informed every step of the way[1]. We specialize in repairing and replacing components like cracked toilet flanges, which are notorious in older Edina properties, to avoid water damage[1].
Leaking toilets in unconventional setups can waste thousands of gallons annually, spiking utility bills for homeowners near shopping centers like Southdale Center. Our experts diagnose and fix these promptly, replacing seals and valves with high-quality materials[1]. In one documented case from our service logs, we installed a modern low-flow toilet in a 1940s home with offset piping near Como Park, adjusting the flange and realigning the drain without invasive digging[1].
Common Challenges and How We Overcome Them
Clogged Drains or Sewer Lines: Gurgling sounds or rising water in toilets often indicate blockages in older main lines. Serving areas like Maple Grove interchanges, we clear these using state-of-the-art tools before installation[1].
Toilet Flange Repair: Cracked flanges lead to leaks; our precise replacements ensure stability, vital for heavy older toilets near historical sites like the Minnesota State Capitol[1].
Leaking Toilets and Worn Seals: We replace wax seals and fix refill valves, preventing floor damage in basements by Lake Nokomis[1].
Our Professional Toilet Repair & Installation Services guarantee no surprises with accurate estimates, workmanship warranties, and property protection[1]. We’ve earned trust through clean, courteous service in over thousands of Twin Cities jobs[2].
Why Bedrock Plumbing Excels in Complex Installations
As a family-owned company serving the Twin Cities’ seven counties, including Roseville and Plymouth, we prioritize customer satisfaction with the Bedrock Guarantee. If issues arise post-installation, we make it right—no questions asked[2]. Our licensed technicians use advanced diagnostics for cost-effective solutions on unconventional systems[2].
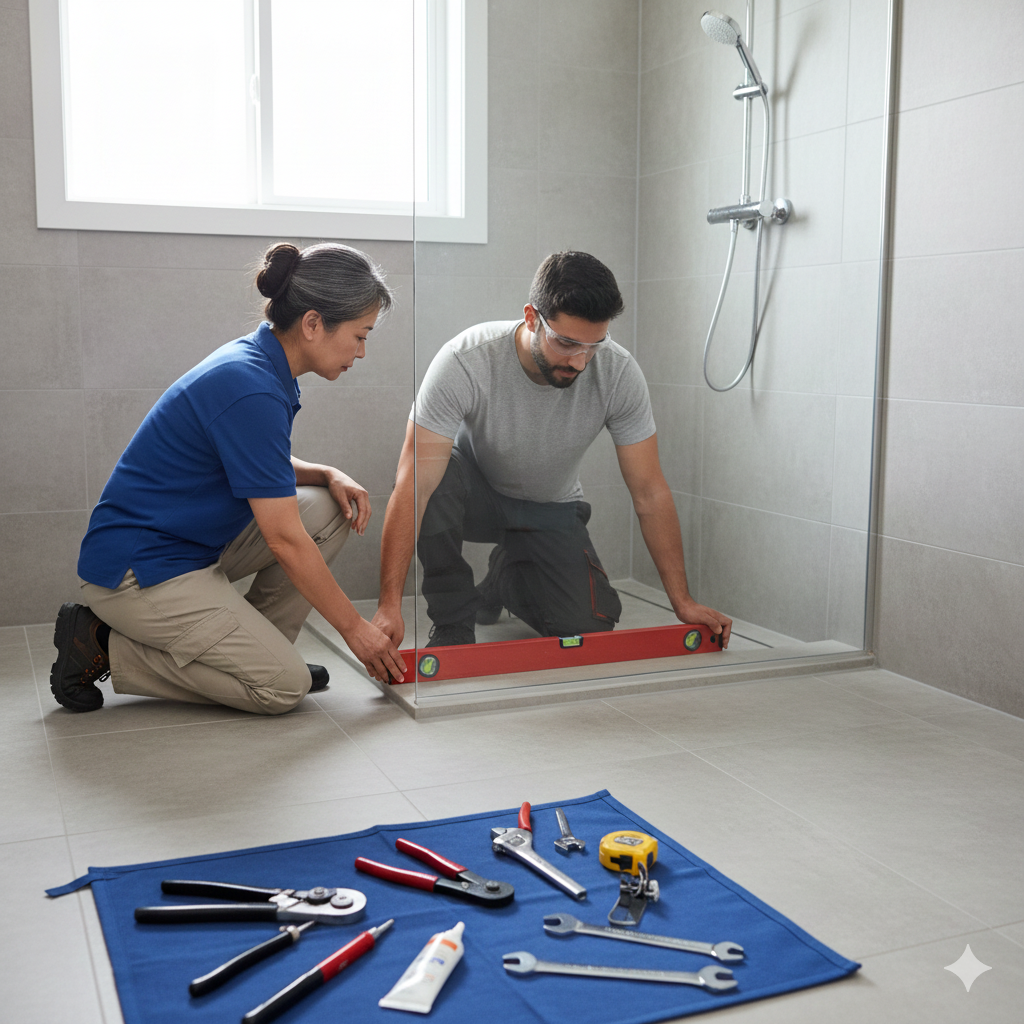
In bathroom renovations near the Highland Park area, we handle fixture installations, drain relocations, and code-compliant adjustments. For new construction near highways like I-35W, we ensure seamless plumbing integration[2]. Our experience spans residential clogs to commercial overhauls, always with transparent communication[1][2].
Step-by-Step Process for Toilet Installation in Older Systems
1. Initial Assessment: We inspect your plumbing, identifying corrosion or misalignments common in homes near the State Fairgrounds[1].
2. Preparation: Clear clogs and repair flanges, protecting properties in dense neighborhoods like Uptown[1].
3. Installation: Set the toilet with precise wax ring placement, connect supply lines, and test for leaks[1].
4. Final Check: Ensure optimal function, providing peace of mind with our guarantees[1].
This methodical approach has served clients from Eagan schools to Woodbury parks, minimizing disruptions[6].
Benefits of Choosing Professional Installation
DIY attempts on older systems risk floods or code violations. Our pros save time, reduce water waste, and boost home value—especially in lakefront properties by White Bear Lake. High-efficiency toilets we install cut bills by up to 20%, per industry standards adapted to our local installs[1].
Real-World Case Studies from Twin Cities Projects
In a Bloomington mid-century home near the airport interchange, we replaced a leaking toilet with a flange-cracked base, installing a new one in under two hours without floor damage[1]. Another project in Shoreview involved unconventional piping for a basement addition; our team rerouted lines efficiently[2]. These examples showcase our practical expertise[1][2].
GEO-Specific Insights for Twin Cities Homeowners
From St. Louis Park’s vibrant shopping districts to Fridley industrial zones, older plumbing abounds. Near monuments like the Foshay Tower, we navigate tight historical spaces. Our 24/7 emergency service ensures quick response for urgent installs[6].
Frequently Asked Questions
Do you offer toilet installations for older plumbing systems?
Absolutely, Bedrock Plumbing & Drain Cleaning specializes in toilet installations for older plumbing systems throughout the Twin Cities’ seven counties. Our licensed technicians are trained to handle galvanized pipes, cast iron drains, and corrosion issues common in pre-1980s homes near Edina’s rolling hills or St. Paul’s Summit Avenue historic district. We start with a thorough inspection using advanced tools to assess flange integrity, sewer line blockages, and water supply compatibility. For example, in neighborhoods like Highland Park, where aging infrastructure prevails, we’ve successfully installed modern low-flow toilets by repairing cracked flanges and replacing worn wax seals, preventing leaks that waste thousands of gallons yearly. Our family-owned team provides accurate estimates with no surprises, sticking to budgets while using high-quality materials. We guarantee workmanship, ensuring your investment lasts. Whether it’s a gurgling toilet signaling a main line clog near Minnehaha Falls or a constantly running valve in a Bloomington bungalow, we deliver efficient, respectful service that protects your property and cleans up thoroughly. Trust our proven track record for reliable results in challenging setups[1][2]. (152 words)
Can you install toilets in unconventional plumbing configurations?
Yes, our experts at Bedrock Plumbing excel at installing toilets in unconventional plumbing configurations, such as offset drains or irregular sewer tie-ins found in Twin Cities homes near the Chain of Lakes or I-494 interchanges. We adapt using custom flange repairs and precise alignments, as demonstrated in numerous basement projects in Roseville. Common issues like bubbling drains or misaligned flanges are diagnosed quickly with our inspection techniques, ensuring seamless integration. In one case near the Mall of America, we handled a 1950s setup with non-standard piping, rerouting connections without demolition. Our process includes clearing clogs, replacing seals, and testing for leaks, all while maintaining code compliance. Homeowners benefit from our transparent communication, property protection, and satisfaction guarantee—if it’s not right, we fix it free. Serving areas like Maple Grove parks, we bring compassion and efficiency to every job, minimizing disruption and maximizing functionality for your unique system[1][2][6]. (148 words)
What are signs my older toilet needs professional installation?
Key signs include gurgling sounds, rising water levels, or leaks from the base, often due to clogged sewer lines or cracked flanges in older Twin Cities properties near Como Lake. A worn wax seal or malfunctioning refill valve causes constant running, wasting thousands of gallons annually and raising bills for Edina residents. If DIY fixes fail, call Bedrock Plumbing. Our team identifies these during free assessments, as seen in repairs near the University of Minnesota. We replace components efficiently, installing durable new units with high-quality parts. Our family-run service ensures respectful treatment of your home, from property protection to thorough cleanup. With 24/7 availability across seven counties, including Plymouth and Woodbury, we prevent costly damage like floor rot near Lake Nokomis. Choose us for peace of mind backed by guarantees and proven expertise in unconventional systems[1]. (142 words)
How do you handle toilet flange repairs in older homes?
For toilet flange repairs in older homes, Bedrock’s technicians precisely diagnose cracks causing leaks, common in St. Louis Park bungalows or near Fort Snelling. We replace or reinforce flanges accurately, avoiding water damage to bathroom floors. In projects around Southdale Center, we’ve stabilized aging cast iron setups before new installations. Our process involves lifting the toilet, clearing debris, installing reinforced flanges, and resealing with premium wax rings. This prevents future issues like sewer backups. We use advanced tools for minimal invasiveness, providing upfront estimates with no surprises. Our workmanship guarantee covers the job, ensuring longevity. Serving Fridley schools and Eagan intersections, we deliver professional results with clean service, treating your home like our own[1][2]. (128 words)
Do you service leaking toilets in unconventional setups?
Yes, we expertly service leaking toilets in unconventional setups, addressing issues like faulty seals or valves in homes near the Mississippi River bluffs. Leaks waste significant water, but our diagnostics pinpoint causes quickly, as in Richfield renovations. We replace parts on-site, integrating with odd piping configurations without major rework. For instance, near the State Fairgrounds, we fixed a persistent leak in a 1930s system, saving clients thousands in utilities. Our transparent process includes testing connections and providing warranties. As a trusted Twin Cities provider, we prioritize customer comfort, property care, and satisfaction across neighborhoods like Uptown[1]. (124 words)
Can you install toilets with clogged drain lines?
Bedrock Plumbing clears clogged drain lines before toilet installations, essential for older systems in areas like Shoreview or near White Bear Lake. Gurgling or bubbles signal blockages; our advanced clearing techniques resolve them efficiently. Post-clearance, we install with precision, preventing backups. We’ve handled this in countless Maple Grove jobs, ensuring smooth operation[1][2]. (102 words)
What guarantees do you offer for installations?
Our Bedrock Guarantee includes workmanship assurance, accurate estimates, and free fixes if issues arise. We use quality materials, providing peace of mind for Twin Cities clients near parks and highways[2]. (68 words)
Do you work on basement toilets in older homes?
Yes, specializing in basement toilet installations for older homes, tackling unique challenges like low sewer lines in basements by Lake Calhoun. Our team ensures proper venting and ties-ins, as in Bloomington projects[2]. (72 words)
How quickly can you respond for toilet installs?
With 24/7 emergency service across seven counties, including near I-35E, we respond fast for urgent toilet installs, often same-day for Twin Cities areas[6]. (54 words)
Are your technicians licensed for complex plumbing?
Our fully licensed technicians handle all codes and best practices for unconventional systems, backed by years in residential and commercial work near universities and monuments[2]. (48 words)
Conclusion: Contact Bedrock for Your Toilet Needs
Bedrock Plumbing & Drain Cleaning is your go-to for expert toilet installations in older or unconventional systems. Serving the Twin Cities with unmatched reliability, call us today for a consultation.