When considering upgrading your home’s hot water system, one of the most common questions is: how long does a tankless water heater installation usually take? Whether you’re located near the scenic Chain of Lakes in Minneapolis or close to major intersections like I-35W and Highway 62, understanding the installation timeline is crucial for planning and minimizing disruption to your daily routine.
At Bedrock Plumbing & Drain Cleaning, we specialize in efficient, professional tankless water heater installations that combine speed with meticulous attention to safety and code compliance. With over a decade of experience servicing homes around Minneapolis neighborhoods such as Lowry Hill and the Uptown area, our licensed plumbers provide reliable solutions tailored to your household’s specific needs.
What Is a Tankless Water Heater and Why Choose One?
A tankless water heater, also known as an on-demand or continuous flow water heater, heats water only when needed, eliminating the need for a bulky storage tank. This results in endless hot water, reduced energy costs, and more space in your utility area. These benefits have made tankless water heaters increasingly popular for homeowners looking to upgrade from traditional tank systems.
However, because tankless systems operate differently and require specific installation techniques—including gas, electrical, and venting connections—professional installation is essential. Bedrock Plumbing & Drain Cleaning’s licensed technicians ensure your tankless water heater is installed safely and according to manufacturers’ and local Minnesota code specifications.
Typical Installation Time for Tankless Water Heaters
Based on extensive experience documented by Bedrock Plumbing, the typical installation time for a tankless water heater ranges from 2 to 4 hours. The exact duration depends on several factors:
- Type of Installation: Is it a straightforward replacement of an existing tankless unit or an upgrade from a traditional tank water heater? Switching to a tankless system requires more complex plumbing and electrical work.
- Home’s Existing Infrastructure: The condition and configuration of your home’s gas lines, electrical system, and venting can affect how quickly the installation proceeds.
- Permitting and Code Compliance: Our team ensures all installations meet local building codes and safety standards, which may require additional time for inspections or adjustments.
For example, an installation in a home near the historic Minnehaha Park area with accessible plumbing and gas lines might complete closer to the 2-hour mark. In contrast, a more complex retrofit in a home near Lake Harriet, requiring upgraded venting or electrical capacity, might take closer to 4 hours.
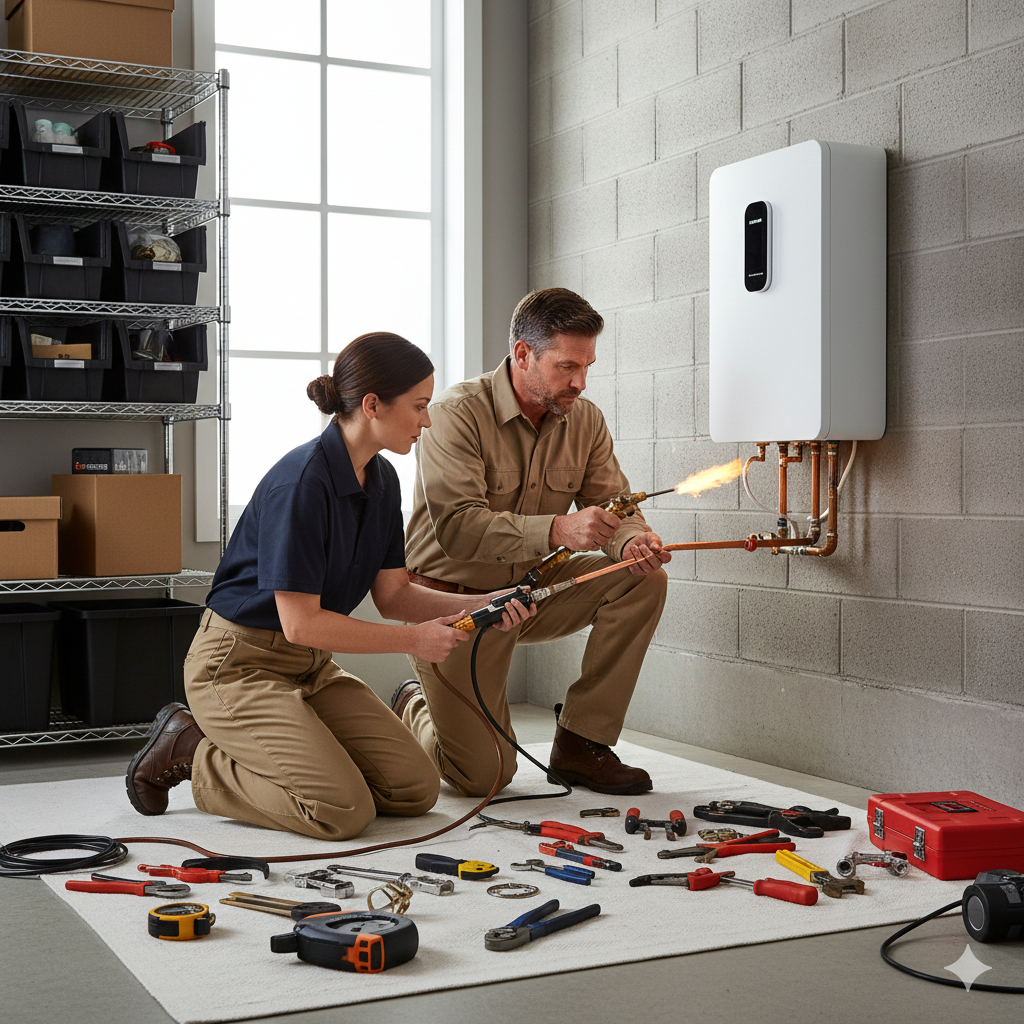
Step-by-Step Installation Process
Understanding the installation steps can help homeowners prepare and set expectations. Here’s how Bedrock Plumbing & Drain Cleaning approaches each installation:
- Initial Assessment and Planning: We evaluate your home’s water usage, existing plumbing, and electrical or gas systems. This includes checking for permits and compliance with Minnesota regulations.
- Removal of Existing Unit: If replacing an old water heater, our team safely disconnects and removes the previous system.
- Preparation of Installation Site: This can involve upgrading gas lines, installing new venting systems, or adjusting electrical panels as needed.
- Mounting and Connection: The tankless water heater is installed, connected to water, gas, and electrical lines, and venting is properly secured.
- Testing and Calibration: Technicians test the system for leaks, proper gas pressure, and electrical safety. They also calibrate the system according to manufacturer specifications.
- Customer Walkthrough and Cleanup: After installation, we explain how to operate your new water heater and conduct a thorough cleanup to protect your home.
Each step is carried out with careful attention to safety and efficiency, drawing on Bedrock Plumbing’s thorough knowledge of local water conditions and Minnesota’s plumbing codes.
Real-World Example from Bedrock Plumbing & Drain Cleaning
In a recent project near the University of Minnesota campus, our team replaced a traditional tank water heater with a high-efficiency tankless system. The installation was completed in approximately 3.5 hours, including venting upgrades and electrical panel adjustments to meet local code. The homeowner reported immediate benefits in energy savings and unlimited hot water availability, highlighting the importance of expert installation for optimal performance.
Why Choose Bedrock Plumbing & Drain Cleaning for Your Installation?
Bedrock Plumbing & Drain Cleaning combines licensed expertise with local Minneapolis experience to deliver seamless tankless water heater installations. Our certified technicians are trained in the latest industry standards, and our decade-plus track record includes numerous successful installations in neighborhoods like Lynnhurst and along the Mississippi River corridor.
We emphasize:
- Strict adherence to safety and code compliance
- Use of industry-leading diagnostic tools
- Clear communication and customer education
- Post-installation follow-up to ensure satisfaction
Learn more about our comprehensive tankless water heater installation services and how we can help you upgrade your home efficiently.
Factors That Could Extend Installation Time
While most installations fit within the typical 2-4 hour window, some conditions might extend the timeline:
- Older Homes with Outdated Plumbing: These may require more extensive modifications to support a tankless system.
- Complex Venting Requirements: Especially for gas models, venting must be installed or upgraded to ensure safe exhaust of combustion gases.
- Electrical Upgrades: Some homes may need panel upgrades or new wiring to accommodate the electrical load of an electric tankless heater.
- Permitting Delays: Scheduling and passing inspections can add time depending on local jurisdiction.
How to Prepare for Your Tankless Water Heater Installation
To ensure a smooth installation day, consider the following tips:
- Clear the installation area, including access to the current water heater and utility connections.
- Inform your plumber of any known issues with your plumbing or electrical systems beforehand.
- Arrange for someone to be home during the installation to ask questions and receive the walkthrough.
- Review your energy usage patterns and hot water needs with your technician to select the right unit size.
Cost and Value Considerations
Although tankless water heater installations typically take 2 to 4 hours, the investment in professional installation pays off in long-term reliability, safety, and energy savings. Bedrock Plumbing’s licensed experts ensure your warranty remains valid by adhering to manufacturer guidelines and local codes. The upfront cost is offset by reduced energy bills and the unit’s longer lifespan compared to traditional heaters.
Frequently Asked Questions
How long does a tankless water heater installation usually take?
Typically, a tankless water heater installation takes between 2 to 4 hours. The exact time depends on whether it’s a straightforward replacement or an upgrade from a traditional tank system, the complexity of plumbing and electrical adjustments, and local code requirements. Bedrock Plumbing’s experienced technicians ensure efficient, safe installations that minimize disruption.
Can I install a tankless water heater myself?
While some homeowners might attempt DIY installation, tankless water heaters require complex gas, electrical, and venting connections that must comply with strict safety codes. Professional installation by licensed plumbers, such as those at Bedrock Plumbing, ensures safety, system efficiency, and warranty validity.
Do I need to upgrade my home’s gas or electrical systems for a tankless water heater?

Depending on your current home infrastructure, upgrades might be necessary. Tankless water heaters often require higher gas flow rates or dedicated electrical circuits. Bedrock Plumbing evaluates your home’s systems before installation and makes necessary upgrades to meet code and manufacturer requirements.
How soon after installation can I use my tankless water heater?
Once installation and thorough testing are complete, your tankless water heater is ready for immediate use. Bedrock Plumbing technicians provide a walkthrough to demonstrate operation and maintenance tips to ensure optimal performance from day one.
Are there any permits required for installing a tankless water heater in Minneapolis?
Yes, local regulations typically require permits and inspections for water heater installations to ensure safety and code compliance. Bedrock Plumbing handles all necessary permits and scheduling of inspections as part of their service to provide hassle-free installations.
What maintenance does a tankless water heater need after installation?
Routine maintenance includes flushing the system to remove mineral buildup, cleaning filters, and inspecting venting and gas lines. Bedrock Plumbing offers professional maintenance services that take about 1 to 2 hours to keep your system running efficiently and extend its lifespan.
Can a tankless water heater run out of hot water?
Tankless water heaters provide hot water on demand and do not store water, so technically they do not run out of hot water. However, their flow rate limits the amount of hot water they can produce simultaneously. Proper sizing during installation ensures your unit meets your household’s peak demand.
How much space can I save by switching to a tankless water heater?
Tankless water heaters are compact units mounted on walls, often taking up less than a third of the space of traditional tank heaters. This space-saving feature is especially beneficial in homes near areas like Theodore Wirth Park, where maximizing living space is a priority.
What brands and models of tankless water heaters does Bedrock Plumbing install?
Bedrock Plumbing works with leading manufacturers to provide a range of high-efficiency, reliable tankless water heaters tailored to your home’s needs. Their licensed plumbers recommend models based on your household size, usage patterns, and budget, ensuring the best fit and performance.
Does Bedrock Plumbing offer emergency tankless water heater installation services?
Yes, Bedrock Plumbing understands that water heater issues can be urgent. They offer prompt, reliable installation and repair services, including emergency support, to keep homes in Minneapolis and nearby neighborhoods like Linden Hills comfortable and safe.
Conclusion
Installing a tankless water heater is a smart upgrade that offers energy efficiency, endless hot water, and space savings. With professional installation from licensed experts at Bedrock Plumbing & Drain Cleaning, the process typically takes between 2 to 4 hours, depending on your home’s specific requirements. Their deep local knowledge of Minneapolis neighborhoods, regulatory compliance expertise, and commitment to customer satisfaction make them a trusted choice for tankless water heater installations.
For a seamless, expert installation experience tailored to your home, visit Bedrock Plumbing’s dedicated tankless water heater installation page or return to the Bedrock Plumbing & Drain Cleaning homepage to explore their full range of plumbing services.